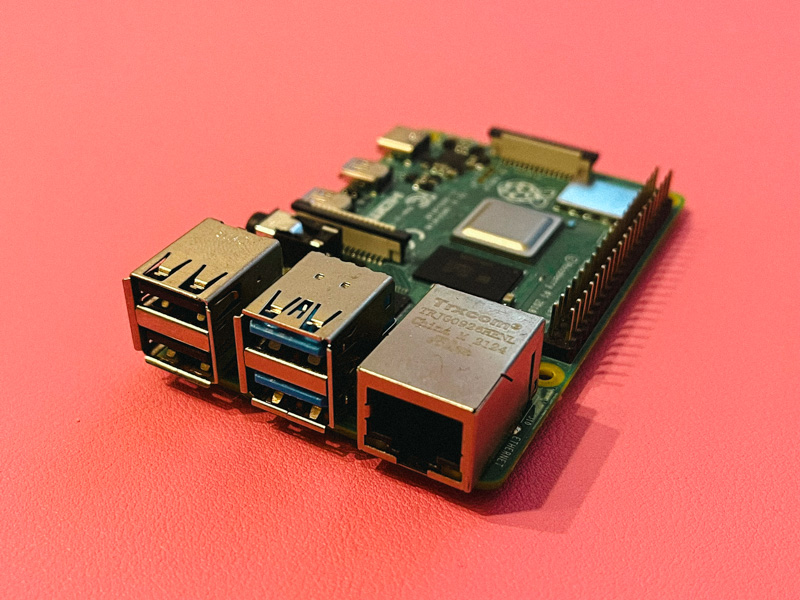
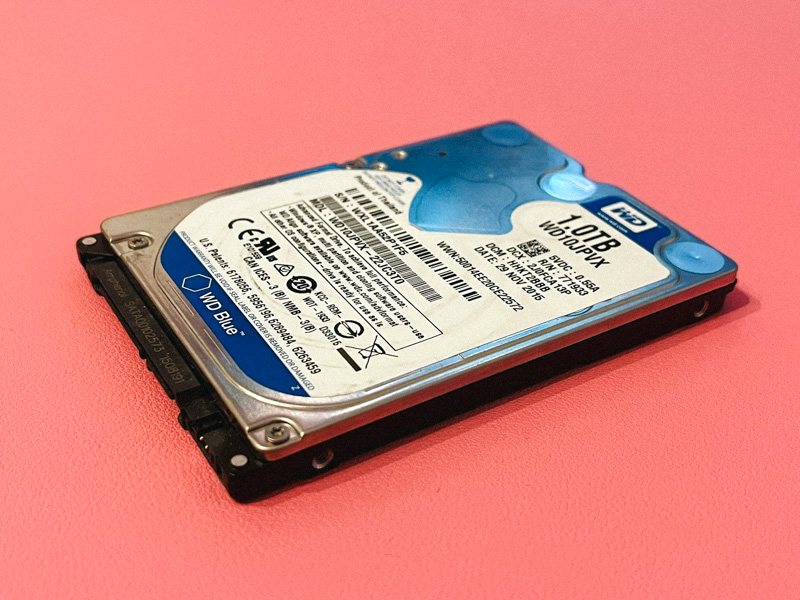
 So you need a NAS and want to do it quite cheap, I'm not blaming you - we all want to do things cheeply too! In this short guide I'll go over how to use a Raspberry Pi 4 to make a NAS with a USB3 external hard drive.
The quickest way to do this is to install casaOS which is, and I'm quoting this, "A simple, easy-to-use, elegant open-source Home Cloud system". It works well as just a simple NAS if you need one, it's a webbases system that you can also use to install various Docker images, like Nextcloud, Bitwarden, and many more. So, if your Raspberry Pi is powerful enough (or you are patient enough), you can use it as a NAS and a small home server.
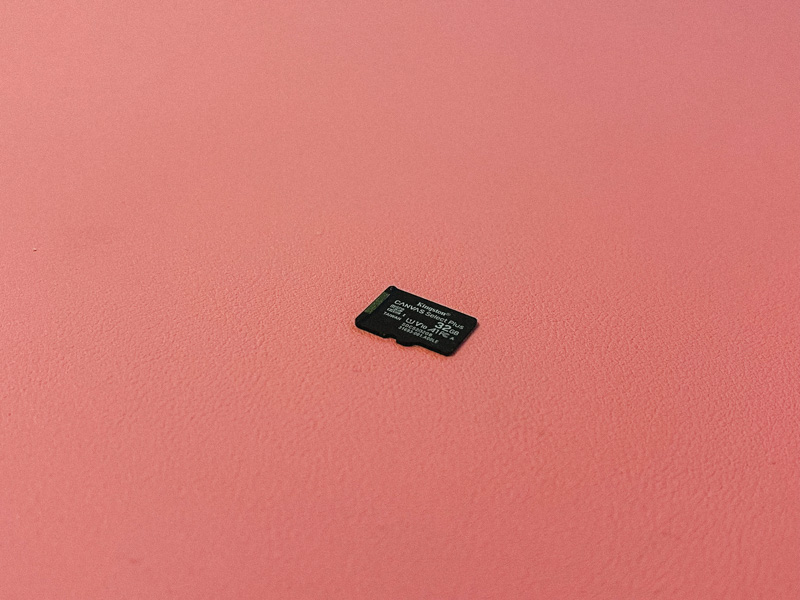
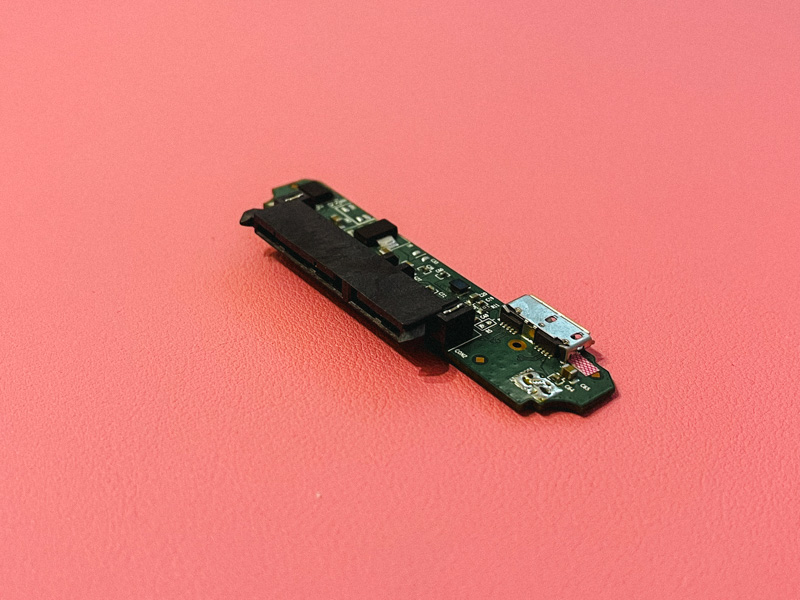
Here are the specs I have, but this will work with even with an older version of Raspberry Pi or even a Raspberry Pi Zero W.
Specs
Installation
We'll start with a fresh Raspberry Pi OS install, I'm using the 32bit version but the 64bit version should work too, though I don't recommend it. And I assume you'll have your Pi connected via wired ethernet.
1. Partition and formating
First we need to make sure the disk we have is partitioned correctly, we'll use fdisk to do this.
fdisk /dev/sda
Normally the microSD card will be /dev/mmcblk0p1 and the external hard drive will be /dev/sda, but you can check with lsblk if you're not sure. There you will see which device matches the size of your external hard drive.
Delete all partitions from the device by using d and then w to write the changes to the disk. Next create a new partition with n, selecting the default options for the following questions and then w to write the changes to the disk. After that press q to quit fdisk.
Next we need to format the partition we just created, we'll use mkfs.ext4 for this.
mkfs.ext4 /dev/sda1
Now our external disk should be ready to use.
2. Install casaOS
curl -fsSL https://get.casaos.io | sudo bash
This should take some time, so go grab a coffee or something and when it's done you should be able to access the web interface at http://casaos.local or http://<your-pi-ip>. The installer should show you the IP address of your Pi at the end of the installation.
I highly recommend you put a fixed IP on your Pi, either by setting it in your router or by setting it in the Pi itself. This way you'll always know where to find it.
3. Configure casaOS
Open your browser of choice (please use Firefox!) and go to http://casaos.local or http://<your-pi-ip> and you should see the casaOS web interface.
There you will be asked for a username and password for you main admin user, set it accordingly.
Now log in and you should be greeted with the default screen, there in the column on the left you should see the disks connected to the machine. One should be the microSD card as well as the disk you just formatted. In the middle of the screen you should see the built in Files app, click on it.

Now you should see you disk in the left column of the screen, click on it and you should see the root of the disk. There you can create folders and upload files, just like you would in any other file manager.
Here is where we want to create a folder for each share of our NAS. You could create a folder called media for your media files and another called backups for your backups. When creating the folder you can tick the Share box to make it available to other users as well. But you'll have to create those users as well.
4. Mounting the share
From your other computer, wheather it be a Windows, Mac or Linux machine, you should be able to access the share by going to \\<your-pi-ip>\media or \\<your-pi-ip>\backups and you should be able to access the files you put there. When asked for a user + password, use the user you created when you first logged in to casaOS. If your client requires a domain, use casaos to be safe, but any domain should suffice.
That's it! Now you have a small private NAS that just sips electricity.
Conclusion
I hope this guide was helpful to you, if you have any questions or suggestions you can contact me on Mastodon.